Hello Again Crafty Friends!!!
It's that time again!!! Today starts the new challenge with the Funkie Junkie Boutique and I'm the Host!
Join us over on the Frilly and Funkie challenge blog HERE.
The new challenge is called "De-stressing with distressing"
The object is share a project with your favorite ways of distressing.
My project was inspired by Stacy Hutchinson. you can see her project HERE.

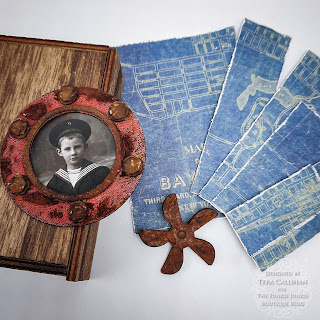
I started with a smaller vignette box and a piece of paper from the Tim Holtz backdrops. I cute my paper to be able to cover all of the outer sides. ( I am still considering doing a 2nd project on the inside at a later date.)
I cut my port hole and bits using the Sizzix Bigz die "Steampunk Parts". I used a combination of the old Distress powders, Distress stains, grit paste, and Distress crayons to get the rusty look. For the red part I used "rouge" Zing embossing powder.
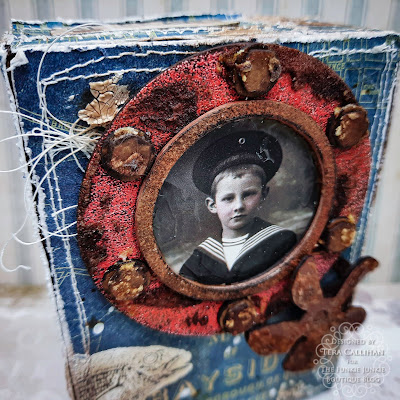
(Close up for detail)
You can see I flicked off a lot of the red embossing powder before heating for a more weathered look. then the stains and crayons filled in the gaps. The image is one of the Tim Holtz "found relatives".
Since I loved how Stacy stitched around her pieces, I chose to do the same before gluing anything to my vignette box.
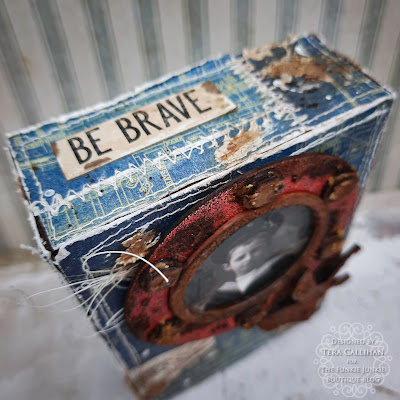
After all of my paper pieces were glued on using Distress collage medium, I then added my crackle pastes, and decorative elements such as the "be brave". When everything was dry I used Distress inks, stains, and crayons to add a bit of grunge.
I also added a heat embossed fish to the front with white embossing powder and the stamp set "Sealife" by Tim Holtz. The string bits were extra left over bits from stitching the panels, and I liked the look of them so I also added them.
(Here's some of the side details)
(The other side...
I chose to keep both simple since I may add to the inside still and if so not sure if I may choose to carry whatever onto the outer sides.)
Well, I hope you like this little display piece, and don't forget to check out the AMAZING piece I was inspired by
HERE.
(Really, you should make sure you follow Stacy Hutchinson if you don't already! Her work is outstanding!!)
Products Used:
Tim Holtz Backdrops Papers
Collage Medium
Opaque crackle paste
Grit Paste
Palette Knife
Found Relatives (the new sets may not have this fella. Mine was from an old set)
Quote Chips
Paper Distresser
Distress Crayons Set #3
Walnut Spray Stain
Vintage Photo Spray Stain
Picket fence Spray stain (for splatters)
Inks: Walnut stain, Vintage Photo
Red Embossing powder
Heat Tool
Stamp Set CMS 304 "SeaLife"
Steampunk Parts Bigz Die


