Hello Again!!!
Today I'm going to share a super fun tag tutorial just in time for Halloween. This set was created for 100 proof press using the Skeleton Torso Stamp (found HERE)
Large Handwriting (HERE)
Profit & Loss Sheet (HERE)
Anatomical Heart (Optional for charms HERE)
Ok Lets get started...
(maybe grab your morning drink, because this is really photo heavy...)
I started with some patterned scrapbook paper for a nice base.
(this paper was by prima a fairy paper set?)
Start by inking your tags with Distress ink in Wild Honey
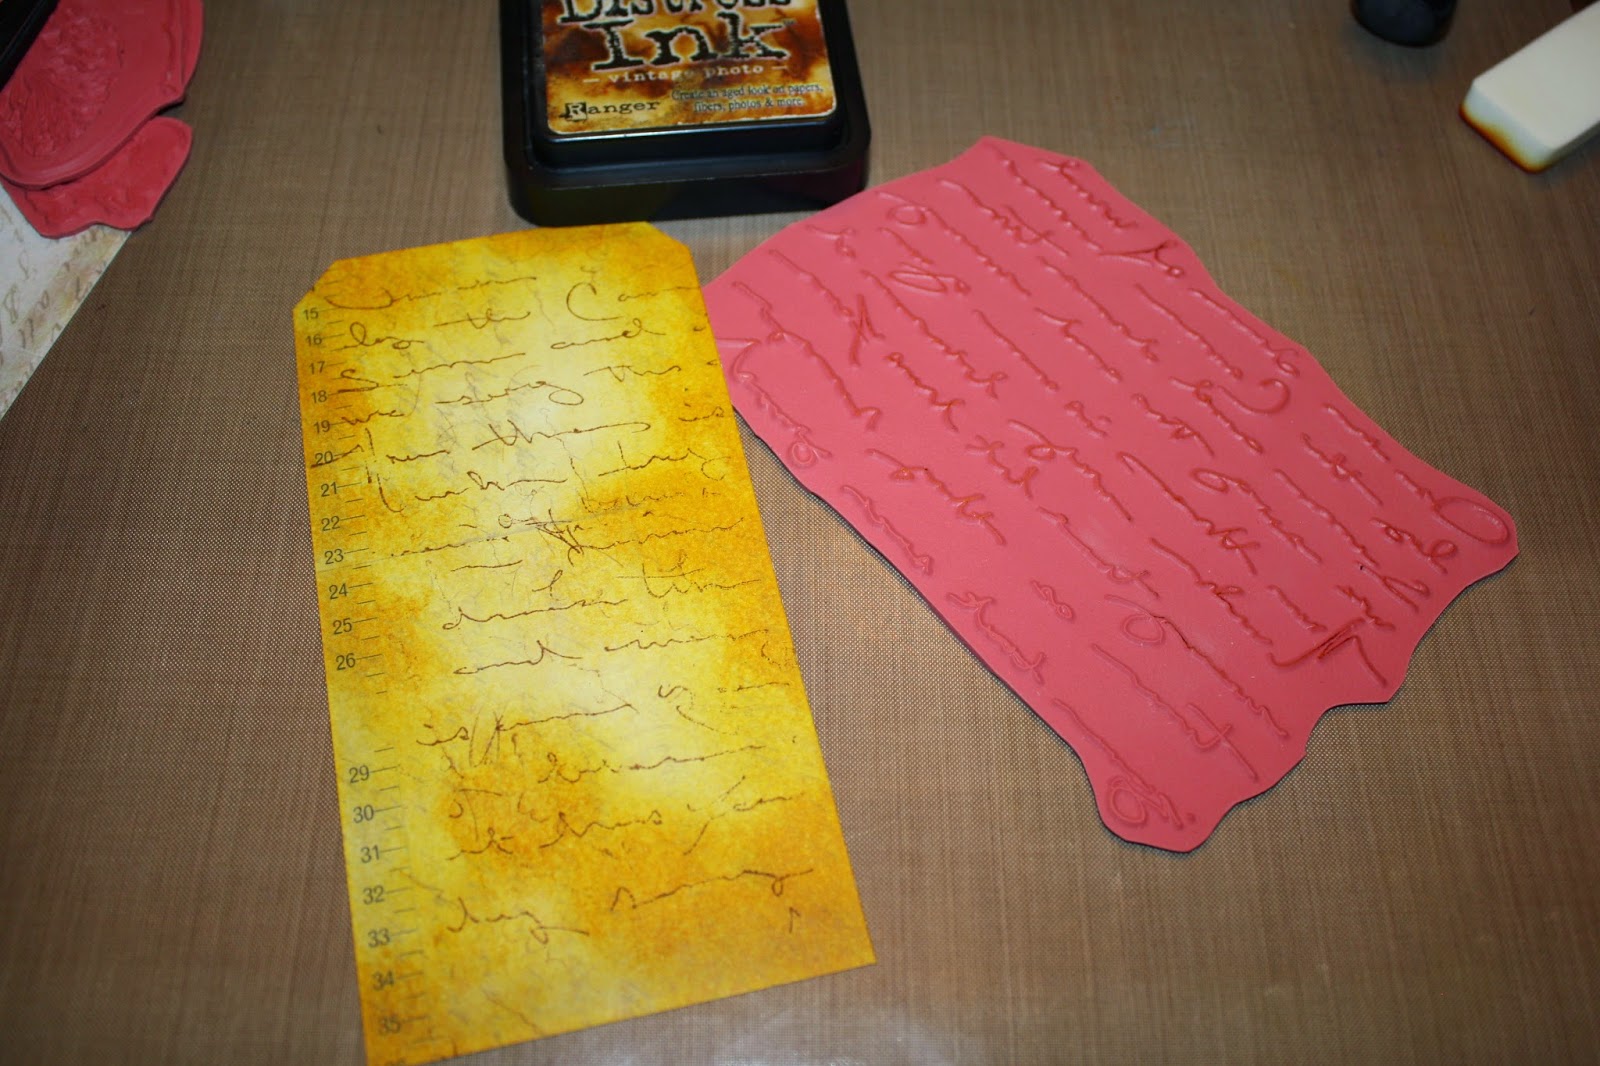
Next using distress ink in vintage photo stamp the large handwriting on the background
Now for some contrast use the distress ink in Dusty Concord stamp the #'s from the profit & loss stamp
Now flick some water drops to distress your tag
Ok, We're back to the dusty concord to distress around the edges of your tag
Next using Black VersaFine ink stamp your skeleton on the center of the tag, then rough up/distress the edges of your tag to give it a nice tattered look
Now lets pull the tag together...
I added some tiny tags (cut from scrapbook paper) and a tiny paper clip
I also added a strip of Tim Holtz washi tape on the side
(see below)
(now re distress the edges and add ink on the edges)
Ok, now ink up your ribbon using the same colors then dry, Tie on the tag and add some Tim Holtz charms...
Want to see a bonus on making your own charms using stamps and shrink plastic???
If you said yes keep scrolling down ;)
Stamp your Anatomical heart on some shrink plastic
Now cut it out as close to the stamp as you feel comfortable but be sure to leave room at the top to make a place to hook a ring through, then punch a hole (i used my crop-o-dile eyelet setter for this)
Here you see the size before it is shrunk (don't panic!)
You can also see what I mean with the ring
Shrink your Heart
(i forgot to take the ring out after my picture so i had to make a new hole because i had issues when shrinking since the metal got too hot and melted through the shrink plastic...)
Using alcohol inks distress your heart to your desired look
Now add to your charm ring and Enjoy!!!
I hope you all enjoyed this tutorial! :D
Thank you for visiting!!


.jpg)
These Halloween tags are terrific! When it comes to a tutorial, there can never be too many photos. Your tute is great!
ReplyDeleteFabulous! Right up my street :)
ReplyDelete