Hello crafty friends!
It's me Tera, here to share one last piece of inspiration before the new year.
I have been loving the mini tins and journals by " Suzy ShabbySoul", she has some great tutorials on Youtube one of them can be found HERE, I also took some step by step photos below.
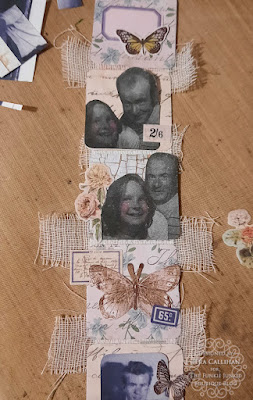
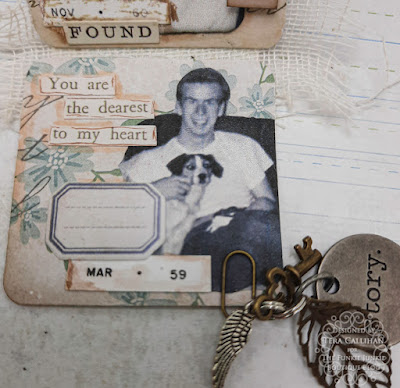
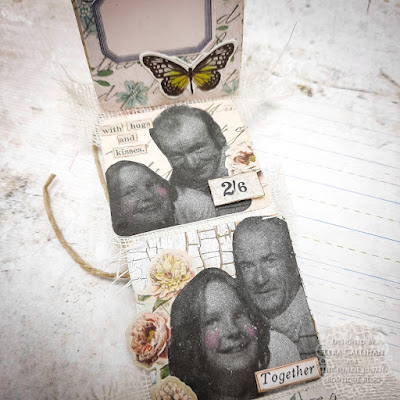
My little mini journal was a gift for my mom. It features photos of her and her dad. He passed away when she was young so I thought this would make a good memory keepsake.
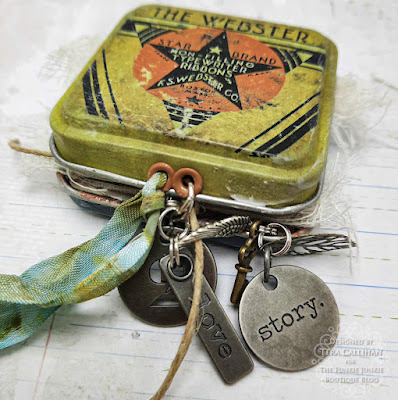
The outside of the tin I added eyelets to for the ribbon, as well as an extra for charms
(Ok, yes...Originally I just punched the hole in the wrong spot...haha. However, it worked out perfectly for the charms!)
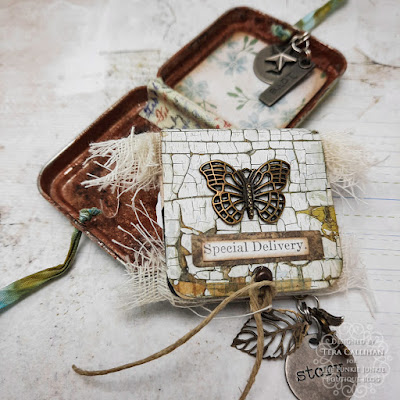
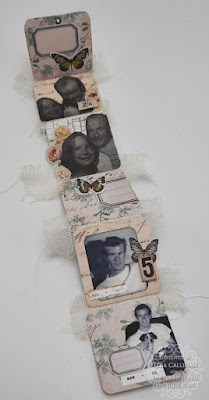
I chose to make the tiny journal so that it could come out to be easily looked at. The charms attached to the journal are hanging from one of the Tim Holtz tiny paper clips. (I thought it could be a fun decorative piece as well as a pull tab).
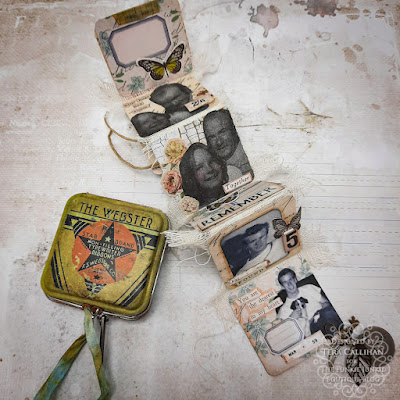
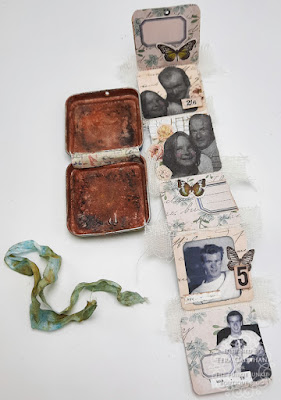
Here you can see the full layout with it opened.
Ok, on to the details...
This project is a little photo heavy, so you may want to grab a drink before you dig in.
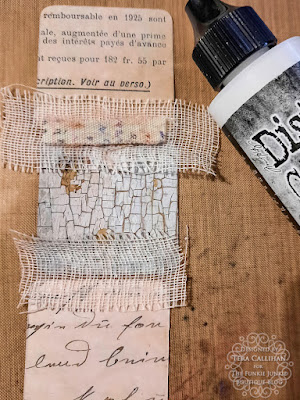
I started by cutting my chosen papers to 1.75in x1.75in. I then rounded the corners with my corner punch. After I laid out my 6 papers, I then flipped them over to start gluing them together. I put a little collage medium down, then used strips of mummy cloth to bind everything. (leaving about 1/8in between each piece) I added a little more collage medium over the tops of the mummy cloth to really make sure it would stay and be sealed.
I also decided to add some fabric tape over the mummy cloth for extra strength and visual interest.
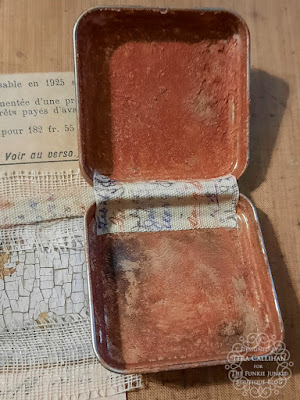
For the tin I used clear gesso, translucent grit paste, and distress crayons to get a rusty look. (rusty hinge, walnut stain, and black soot by the time it was all done).
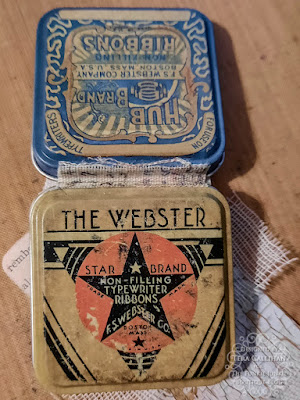
I also used fabric tape as the hinge on here too. (I did glue it down with collage medium and set aside to dry)
As you can see I added the tape to both sides :)
Now that the fabric binding was dry I went back to playing with the mini journal strip.
(the blue flowers remind me of forget me nots, so that's why I picked that one)
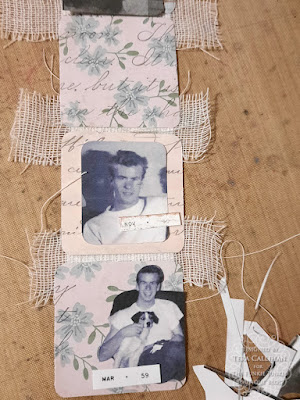
I copied and printed the photos since my mom have very few photos of her dad. This kept me from feeling guilty about cutting them up.
You can see I started by laying out all of my main elements before gluing everything down.
(I even changed my mind completely on the one square).
Once I had everything how I liked it, I glued things down and added pop dots under the 2/6 and the 5.
I also added more crayon to the tin.
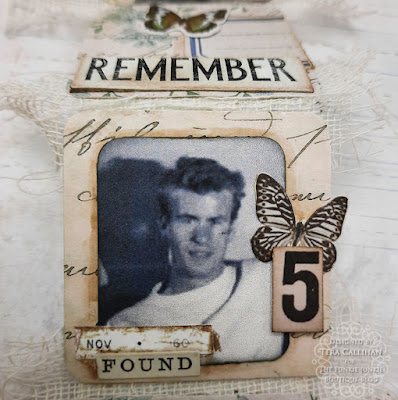
To truly finish everything I added some Tim Holtz stickers and a quote chip I peeled thinner.
I used my water brush with vintage photo distress ink to lightly shade around the quotes, and some of the pictures.
(you can kind of see that the 2/6 is elevated here)
I of course also added the charms, eyelets and ribbons.
I did end up making a wrap around cover with a brad to tie the cord around. This helped to give it that mini book feel for me.
Thank you for visiting! I hope you all like my mini memory tin!!
Supplies Used:
Tim Holtz Idea-ology sticker book (older one)
Tim Holtz Quote Chips
Eyelets
Random charms I had find other charms HERE