Free background from VintageMadeForYou
Showing posts with label Christmas. Show all posts

Wednesday, December 1, 2021

Yuletide greetings

 Hello Crafty Friends!

Are you ready for a new challenge? The theme of the new Frilly Funkie challenge is "Yuletide

I chose to create something fun and simple, it'd that time of year where I'm in need of cards, so of course that's what I went for. 


I used several of the new Tim Holtz idea-ology goodies.
(paper, ephemera, and layers)


To spice that up I used frosted crystal embossing powder and gold embossing powder.


It's hard to capture the texture in photos, but you can see it somewhat. 

Products Used:
Christmas Paper (Backdrops)


Saturday, September 25, 2021

6 simple cards with only 1 stamp set


 Hello Crafty Friends!

Today is my Saturday showcase day for The Funkie and Frilly challenge blog.

Today I wanted to share a fun challenge I gave myself. I challenged myself to use only 1 stamp set to create 6 simple cards that can be good for any occasion.  I chose to use the Tim Holtz Set - CMS385 "Into the woods".  I wanted a woodsy look that could be good for fall, Christmas, or masculine cards. 


3 of the cards are A2, one just a bit shorter than A2, a slimline card, and one that's about 2/3s the size of an A2 (made from the scrap from cutting the slimline card).


A simple frame card
 (you could easily switch out any of the animals to the bear or the fox from the set).


Simple and woodsy.


Woodsy with a splash of color.


A touch of plaid for simple color.


A simple and easy wreath card. 
(This could also be a bird nest. I should have done a touch less stenciling for my preferred look).

My favorite of all the cards, and yet the simplest!


What do you think of these cards?

This stamp set could easily make so many more simple cards, or awesome elaborate ones!!


Products Used: 

Stamp set- Tim Holtz Into the woods

Inks:

    Distress oxides- vintage photo, frayed burlap, walnut stain, forest moss, crackling campfire, candied apple, and black soot

    Original Distress inks- scattered straw, walnut stain

    Other inks- Delicata golden glitz, Embossing ink

Embossing powders- black and red

Tim Holtz layering stencil - THS021 Speckles

Tim Holtz small talk stickers

plaid scrapbook paper

blending tool

Wednesday, December 12, 2018

Dear Santa...

Hello crafty friends!

Today I'm going to share some more inspiration for the last challenge of the Year year with Stampotique.


In case you missed it last week theme is snowy Christmas.

Stamps used:
Bertha
Alpha background 

 I made a cute and simple card I might have to put the word "ish" on the inside though.

I hope you join us in the challenge. The letter stamps or stamped out and then cut into words. And I used alcohol-based markers to color everything.

Have a Merry Christmas!

Wednesday, December 5, 2018

A Snowy Christmas

Hello Crafty Friends!!!


Have you all started making Christmas cards yet? 
I have been trying to get mine caught up and ready to mail out.


Today's is a double win... 
It doubles for the Stampotique Challenge and my Christmas card list!
SDC313- A Snowy Christmas

Stamps Used: 
Oh Christmas Tree
Snowman
Journey Collage

The background was created with dylusions paints, and distress ink. I created snow with distress grit paste. I used distress stain in picket fence to create the snow flecks.

I hope you all join the challenge!!


Wednesday, November 28, 2018

Ghost of Christmas Past...

Hello Crafty Friends!

Happy Wednesday! 
Time for week 2 of the Stampotique Originals Designers Challenge- Swaperoo


If you couldn't guess, the theme swaperoo, means use multiple stamps and swap parts and pieces... I chose to do a head swap!

Stamps Used: 

I used the skull head from the Halloween cube, on Weasel's body. 

The background was created with Dylusions paints, texture paste, and dylusions stencils. I also added a few slicks of distress stains. I added distress oxide ink around the edges. 

I colored my stamped images with a combination of alcohol markers, and colored pencils.

I hope you all like my little ghost of Christmas past art journal page. 


Tuesday, November 27, 2018

Santa Claus is coming...

Hello crafty friends!

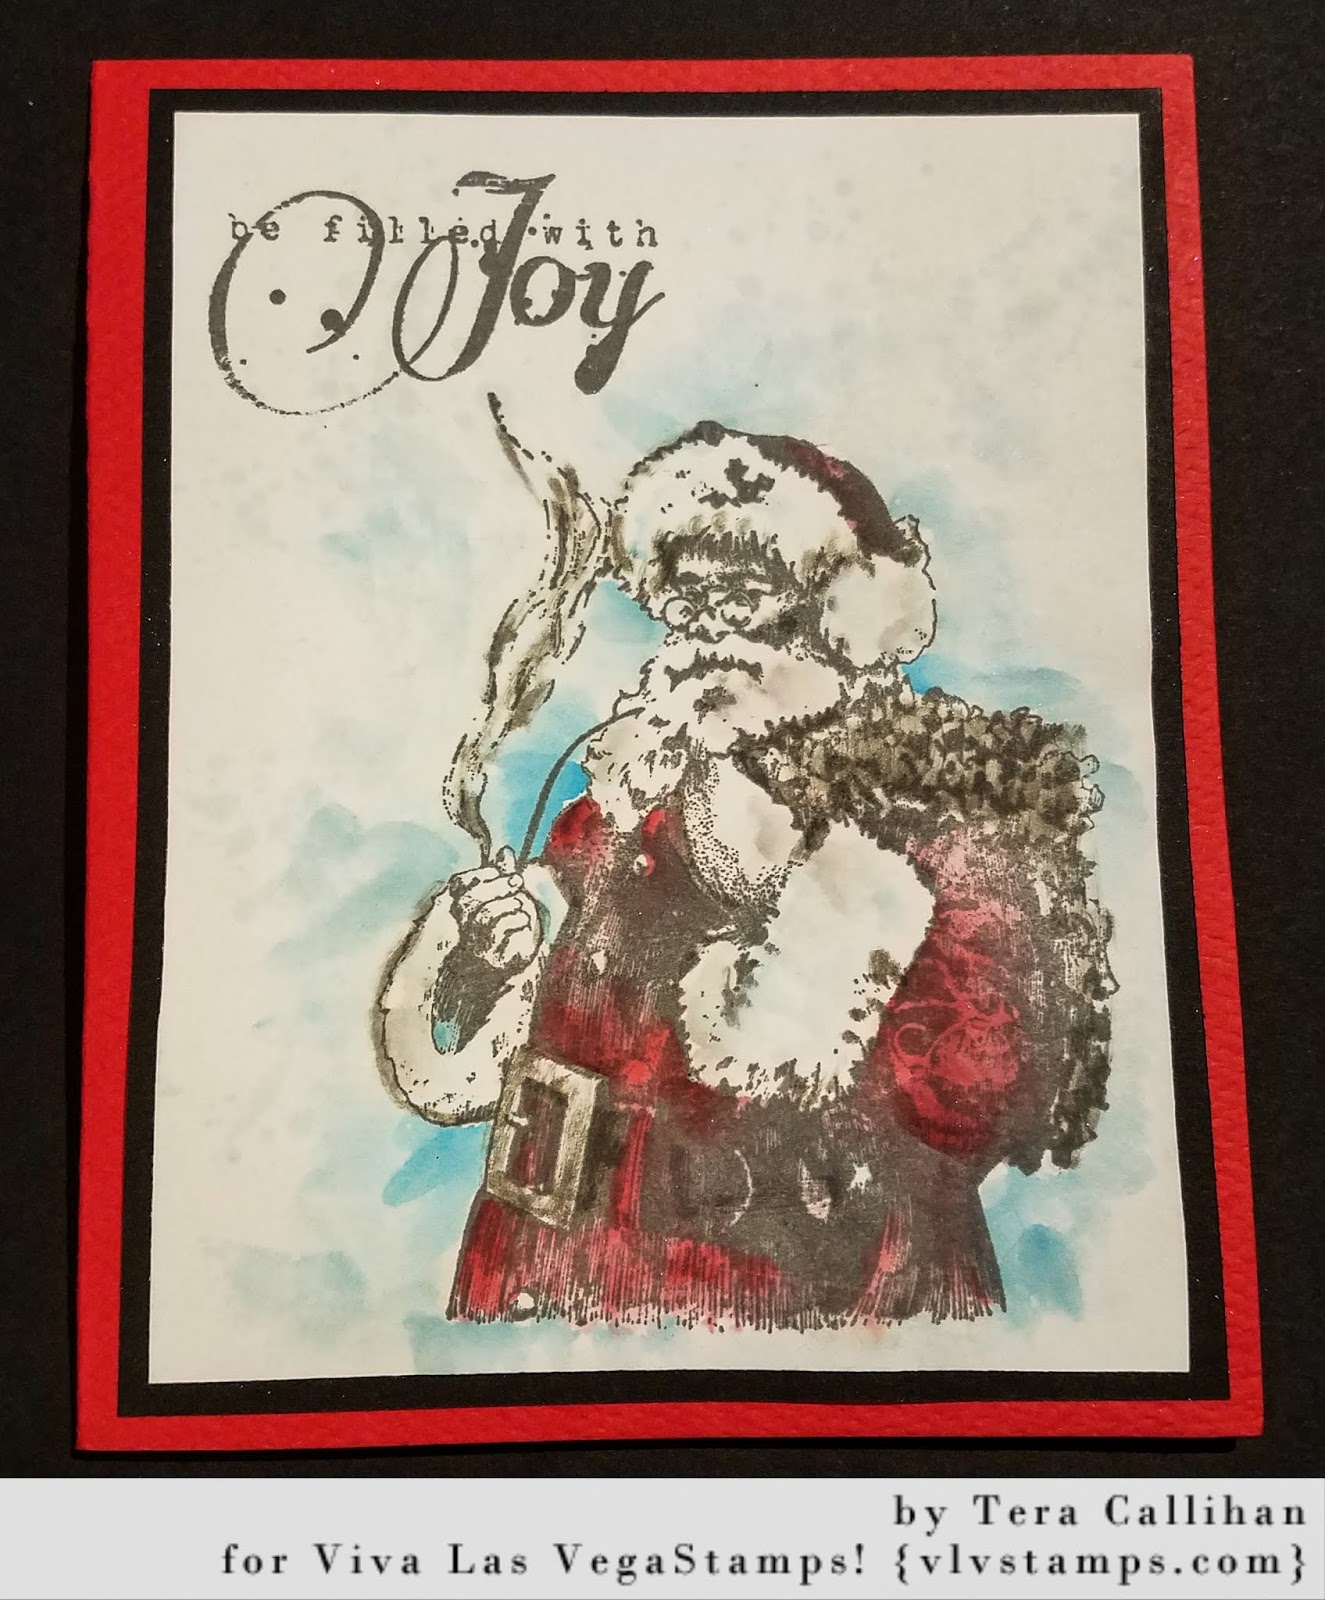
It's time for me to get to work on Christmas cards.  I wanted to create something simple and sort of grungy/vintage so it would be great for anyone. 

Stamps used:

Using archival ink in watering can grey.  I stamped Santa and my sentiment.  I used distress stains to "watercolor" everything.  The card is A2 sized with each matte being 1/4 in smaller than the layer below.


I hope you enjoy this fun and easy card!
Happy Holidays


Wednesday, December 14, 2016

Holly Wally Mail Art Tutorial

Hello Everyone!!! 

Today I am here to share my first video tutorial for Stampotique Originals

for this weeks Designers Challenge

stamps linked below

(The theme is Christmas)

I hope you like this short video! 
(I ended up creating 2 envelopes with this same style, but different color schemes) 

(video)


Stamp Links:

Wednesday, December 7, 2016

Holiday Door Hanger

Hello Again! 

Today I want to share a cute holiday door hanger I created for this weeks 

Stampotique Originals Designers Challenge 

Naughty or Nice

I wanted to create something fun that could double as a cute holiday decoration, so I decided to make a fun and easy door hanger ...
(Which I may have to share with my niece!)


To create this I stamped "Newton" on a piece of white card stock with memento ink in tuxedo black. I then used a variety of alcohol based markers to color him. I then cut him out and trace around his head with a pencil so that I could draw a Santa hat with a black marker (then colored and cut it out).

Next I created the little sign with a scrap of cardstock. 
(We want Santa to know we've been good this year, Right?!) 

To Finish Newton I glued on his hat and the sign in his hands. 

The base was created by cutting some polka dot scrap book paper, and a 2nd piece of black card stock to add a sturdier base. To create the hole for the door knob, I traced around one of my glue bottles then hand cut it...
 (my circle cutter was hiding, which I of course found right after cutting this!!)

Anyhow, I hope you like this little piece of Holiday fun, and I hope it inspires you to get creative!! 

I hope you all have a wonderful holiday!
(also I will have a special holiday envelope video tutorial to share with you for Stampotique on the 14th, so be sure to stop back!!)


Monday, November 21, 2016

Mail Art Monday Full of Joy (Video)


Hello Again Everyone!

I'm back with more
Viva Las VegaStamps goodness...

Today I want to share a fun and easy Mail Art Monday
Video tutorial with you for the holidays! 


(I did this in 2 parts for easy viewing)

Part 1 is the envelope design, and part 2 is for those of you whom want to see the coloring process.

(Part 1)

(Part 2)

Stamps Used: 


Monday, December 21, 2015

Monday, December 8, 2014

Tis the Season... VLVS Card Hop

Hello Again, 
Tera Here with another vintage Christmas piece.

I hope you are enjoying this super fun Viva Las Vegastamps! Christmas card Blog Hop!


Be sure to stop at all the other blogs too!!
Amy 
Karen 
Tera <<<---- You are Here! :D


Supplies:
Ink - VersaFine Sepia & Black
scrap Christmas paper, kraft paper and embossing folder (optional)
Tim Holtz Tiny attacher and adhesive


Start by cutting your card base from Kraft paper, (I embossed mine with a dot embossing folder). 
Next stamp your Santa in the right hand corner with VersaFine ink in Sepia ink.

To add depth I grabbed some scrap Christmas music paper and ripped it to fit the side of my card. Before attaching it to your card use your sepia ink to pre-distress your paper. 
At this time you can also stamp your "Joy" on a scrap to be cut out and distressed as well

Use adhesive and your tiny attacher to put your card together, and there you have it a super cute and easy Christmas card in no time at all!! :D 


Thursday, November 27, 2014

A new way to use Viva Las VegaStamps! and Die-namites dies

Hello Again! 
Today, I am here to share a super fun Christmas Mail Art envelope I made for the Viva Las VegaStamps! and Die-namites blog hop.


Products Used:
Die-Namites Die Leafy Branch

VLVS: 

Santa Collage 3 1/2 x 4 1/4

Holly Large 2 3/4 x 2 1/4

Noel 1 1/4 x 2 1/2

Jingle Bells 3/4 x 2

Pen Tips 2 3/4 x 2


Scrapbook paper to create your Envelope
Adhesive
verasFine Sepia Ink
Distress ink:  Brick Red, Vintage photo
paper to cut your "Mask" out of
makeup sponge or blending tool


Start by cutting your scrapbook paper of choice into an envelope shape you like, I made mine pretty basic as you can see above, 

Next, I stamped all of the stamps listed above in Sepia Ink, and Brick Red ink
(you can also see the piece I die cut to use as my "mask")

(here are the bottom right 2) 

(here are the top right 2)

Now start inking over your "mask" in distress ink (vintage photo) 
remember to overlap some areas to add depth 

another view


You can imagine all the wonderful uses for this technique this holiday!!! Imagine custom gift wrap, tags, cards and more!!

Sunday, June 23, 2013

Tag You're it!!

Ok, so what have i been doing for the last 3 days? Getting Inky of course!! I have been Stamping, and inking up some super fun and vintage inspired tags. Most of the tags are for the 4 sets i will be listing on Ebay for my groups Christmas in July sale. Some others where just for fun and to play with some of my moms new  stamps from graphic 45's "Steam Punk Spells" line (She made some great tags also, which i haven't yet taken photo's off... maybe i'll remember to go back over tomorrow to get the picks of hers)  

(Ok i just realized i forgot to take a picture of the steam punk spells set... so i'll add it later if anyone wants a close-up)

You can also view some of my Mom's tags on her blog along with the pictures took of mine
http://the-white-witches-cottage.blogspot.com/
(though some of my fave. tags she made she hasn't taken pics of yet...)

Ok so here are the pics... 
 Christmas Set 1
Close-up of set 1 tag

 Christmas set 2

Christmas set 3 
(This Set is supposed to be the Dickens Victorian Christmas set)


A peak from the side so you can see how chunk and 3D they are.  

Christmas Set 4 
This primitive style set is the only set I've made that doesn't have any 3D aspect it

 Vintage set that was just for fun 
(the fact they all have a start officially makes them a set!)

Just so you can see these are all 3 dimensional  

 Tags all together. (oh and the one in the top left was another just for fun piece)