Free background from VintageMadeForYou
Showing posts with label Bird. Show all posts

Wednesday, February 27, 2019

Fragile Creatures

Hello crafty friends!

Today's my Wednesday to share a little inspiration for the new 
Stampotique Originals designers challenge
The theme is "Birds and bees"


I decided to create two different cards that both Incorporated birds and bees.

STAMPS USES: 


I hope you enjoy this take on the challenge, you can see my process below. I did end up changing final colors for my main character by stamping her again  and hand cutting her out... for the white based card I basically follow the same technique without coloring the background.

I started by stamping out of the bees oh, then masking them off. Next I stamped my border Oodles of doodles. Then my main image was stamped.

As you can see above I have my main image and the bees masked off so that I can apply background color on top of everything else. I used various distress inks and oxides for this.

Here you can see where I have a little more color layed down with the masks still in place.

This is the view when I removed the masks.

This was after I finished all of my coloring , but I decided it was too monochromatic. I wanted more variation, so I stamped her out again. (as you can see in the pictures above.)
 I hope you've enjoyed this little card project.


Saturday, August 17, 2013

More Viva Las VegaStamps! August inspiration board fun!


Good Morning Everyone! 
It looks like it's going to be a beautiful Saturday, and thanks to my spoiled rotten dog barking at 6:20 am I've been awake for a while, so I decided to play some more with the Viva Las VegaStamps August's Inspiration Board Challenge.

Here is what the inspiration board looks like: 


I took inspiration from various Elements on the board, and also decided to do some scoring since i have been inspired by the blog hop between Viva and ScorePal all week :-)

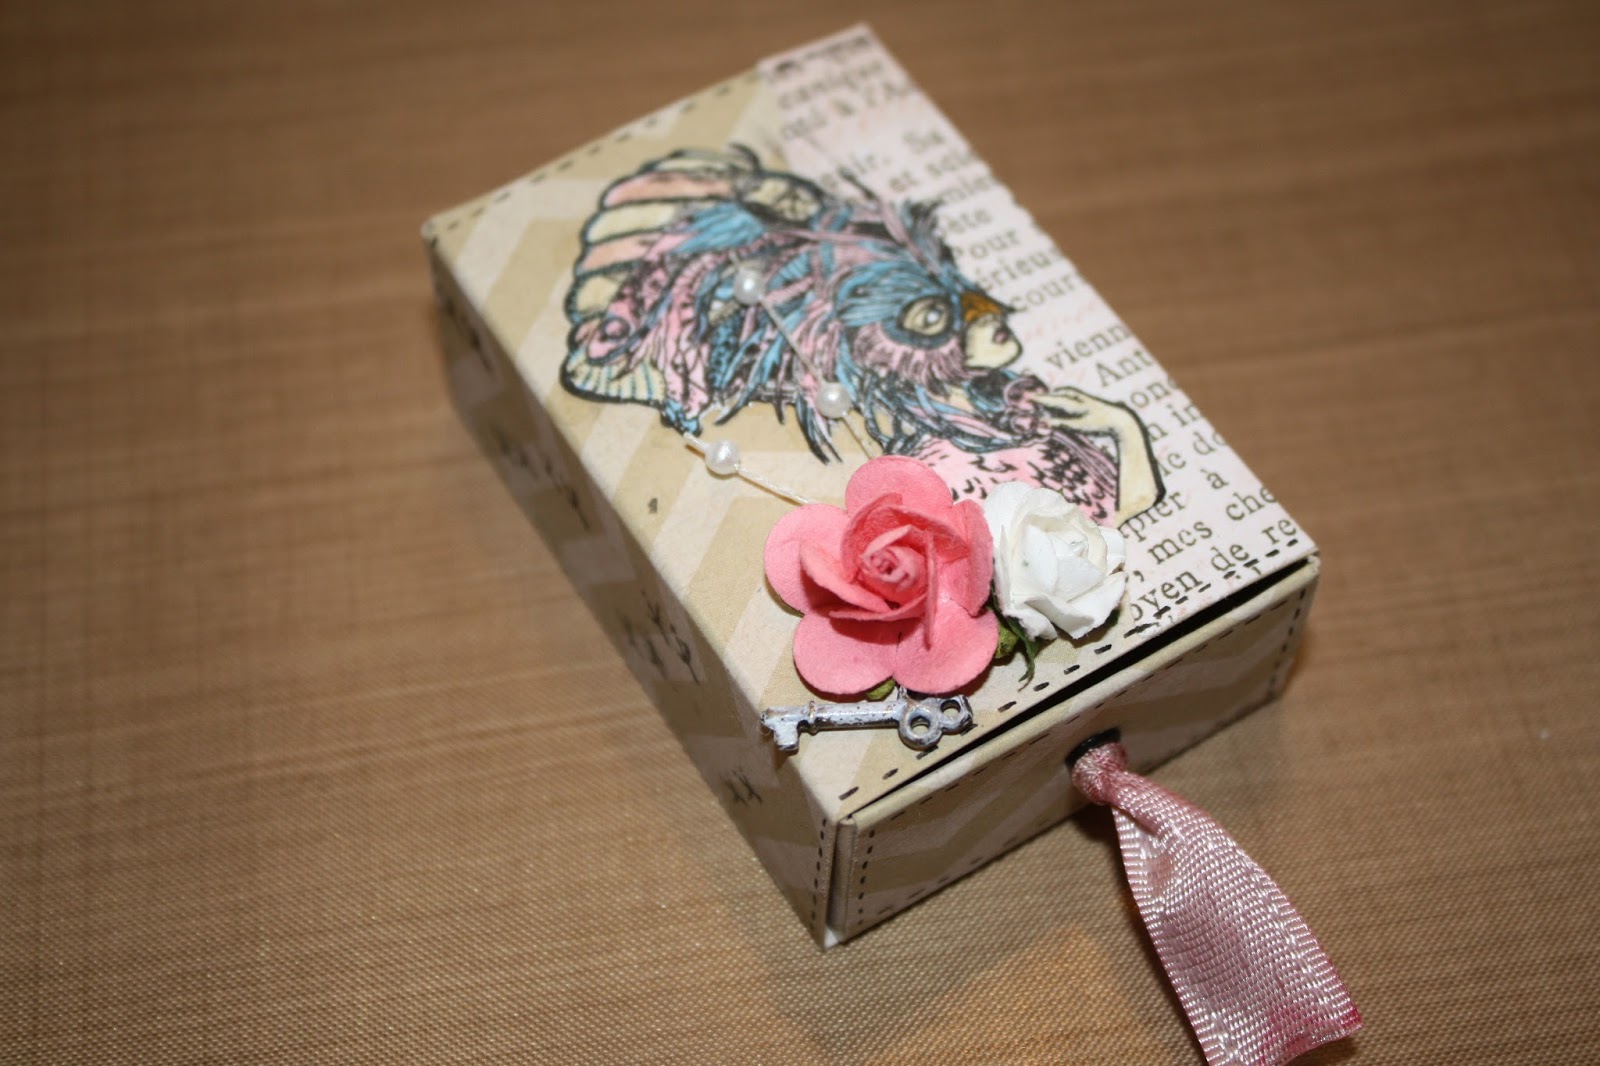
I created a match box/mini gift box 

I started by cutting out a matchbox template with my Silhouette Cameo, and by stamping and coloring the Beautiful Mardi Gras Lady AKA "my Bird Lady", then cutting her out


Next I scored and folded my template. I also double checked that She fit nicely. 
After checking I drew some stitching on the edges using my micron pen, and stamped the bird tracks down the side panels. I glued everything in place, and finished embellishing. 


 Here are a few different angles, I hope you all enjoy!


(also you can see my pup doesn't feel guilty for waking me at all!)

Thursday, June 27, 2013

Shrink Plastic Charm Tutorial

Today i'm going to show you how to make this wonderful Shrink Plastic Charm!

First gather your supplies:

  • piece of #6 recycled plastic (I used a washed out food container) 
  • a pair of scissors (i used Tim Holtz Scissors)
  • non-stick craft mat
  • permanent markers (any brand you like is fine)
  • StazOn ink pad in the color you choose (I used black)
  • Your heat tool
  • Hole punch 
  • Tweezers or something to hold onto plastic while heating it
  • And last but not least your STAMPS!! (I used the bird man by silver crow creations, and the star and word dream are part of the Tim Holtz collection by stampers anonymous)


Step 1: 
  Stamp your image on the plastic and cut out whatever shape you'd like your charm to be 
(remember these shrink to less than 1/2 the original size so the larger the better)


 Step 2: 
       Punch the hole in the plastic wherever you want the charm ring to go through


Step 3:
       Color the back side of your image and allow to dry for a minute.

                                              (I also chose to add more stamps at this point)

(This show my original stamped piece before heating was 4in long)
 Step 4:
       Heat that bad boy up!! Don't panic it will warp, and curl and do all sorts of funny things, but don't panic it will flatten back out on it's own as it heats 
          (i usually leave it laying on my nonstick craft mat while i heat it, i only lifted it for the picture)
 Step 5:
    You did it! Now let it cool for a minute then you are ready to add it to your projects! In my case i made a fun charm dangle clip. (note the new size is only 1 and 3/4 inches!!)


 Here you can see the front and back sides of m charm.

 (note that the metallic marker i used was opaque so it gives a nice 3D affect when compared to the transparent colors)


Well Here you Go my finished Charm Clip! 

Thursday, June 13, 2013

Mail art madness...

Ok, i thought i'd share a little bit of the mail art madness i've been working on, all 4 of these still need the backs completed yet, but Thought i'd go ahead and share the fronts.( : D )

(thank you to my friend Mary Margaret for the fabulous stamped images of the bird people, brick window  and the wonderful bird address plate!)   
(you should also check out her awesome mail art here: http://www.flickr.com/photos/69262284@N02/    )


 The "top Secret" one may end up with more added to it also... I haven't decided yet...
I hope you all enjoy the pre-view