Free background from VintageMadeForYou
Showing posts with label Mail Art. Show all posts

Sunday, April 11, 2021

Postage People are taking over

 Hello Crafty Friends!!!
Sorry I've been away so long... I went through a bit of major creative block, but have slowly been getting my groove back.

If you're following me on Instagram or on my personal Facebook I'm sure you've seen my feed being taken over by postage people. I'm having so much fun with them!!! This last week I've been working on a lot of postcards, and the week or two before that I made a few more dimensional pieces.


I have some plans for a few more layered ones, but my sewing machine broke... now to see if I can find a repair place still in existence 🤔  

Anyway, hope you enjoy this postage people overload as much as I've enjoy creating them!!


Now on to postcards...


I hope you all have found some crafty mojo too!

Crafty Hugs
-Tera


Monday, August 24, 2020

Mail Art Monday Sass

Hello Again Crafty Friends!!!

Happy Mail Art Monday! 

Today I want I share some snarky I made for my brother... 
I'm sure his mail carrier will be amused...


Stamp Used- 


(the snarky saying is a sticker by Dyan Reaveley)

I hope you enjoy this fun little pair.


Monday, July 13, 2020

Mail Art Madness

Happy Mail Art Madness...

Oops, I mean Monday.... 

(or do I? I just started Keto on Thursday, so I'm definitely feeling some madness cutting my favorite food group ...carbs <3)


Stamps Used:


I started by stamping "Girl making face" and "Cunningly disguised". I then drew an address block, and a signpost to hold the quote.  With the base started I then masked off the main images.


Using a combination of Distress inks in: Speckled Egg and Tumbled Glass (both oxide and originals). I then added a layer of ink over everything , and began adding background detail stamps.


To add depth I stamped my cross marks in black archival ink. 


The banner was stamped in "Spiced Marmalade" Distress Oxide ink


With the same ink I used for the banner I stamped the color wheel lines, then removed my masks.


I just love the reveal after all that inky madness...
To finish I colored my focal images, then found a matching postage stamp to tie everything together. 


I hope you have enjoyed this little tutorial and bit of sassy mail art!!!

Monday, June 15, 2020

The mail has gone to the dogs...

Hello Again crafty friends!


Today I want to share a cute and simple mail art envelope with you!
This one of for all of my dog lovers.


Stamps Used:


I started by stamping the hydrant and the dog in Memento ink (Tuxedo Black). I used a scrap of paper to mask off the dogs paws, then stamped the row of chevrons 2x as an accent.  

I used Various alcohol markers to color all my stamped images as well as to add my "grass". Then, I used distress oxide inks to create a few clouds. 

What do you think? 
I think I may need to do a cat one some time too...

Hope this brings you all a smile! 
Happy Crafting!


Monday, April 6, 2020

Easy Easter Mail Art

Hello Again!

I'm back with more cute
Easter Mail Art!


Stamps Used:


Ok, so this time I totally forgot to take some action shots. 

Start by stamping your group of bunnies, then mask them off.  Next, stamp your cross with lilies. 

You can see here I have done that then began to color my cross and flowers. 
(you can remove the mask to color, but i chose not to for some reason)

Now remove the bunny mask so that you can color them too! 
(I chose browns , because i think of "chocolate bunnies")


So, after everything was colored I re-masked my bunnies then added a layer of yellow ink over the background.  When I was satisfied with that, I used layering stencils with pink and yellow to add more details. 


Wednesday, April 1, 2020

No Fooling, New release time!

Hello Again Crafty Friends!


Happy April 1st! 
I hope you are all safe and well during these crazy time!
I am staying safe and crafty here in Ohio. 

Ok, Are you guys as excited as I am about new releases?
This month has so many awesome samples! You will definitely want to stop by the Stampotique Originals facebook page! The team has really been blowing me away with these samples. 

Check out all the new stamps HERE.

Let's start with two super sweet stamps from Kassa. 
(I love how this card and envelope came out...I think these 2 are heading to my niece).


Next I will share my samples with Daniel's 3 awesome new releases!!! 
Yes, 3!

Ok, let's start with an art journal page using the new Gristen.
I love how this came out... She is so fun!
(I added the wings to her)


Now, time for a fun and simple birthday card using the new cake "Oncewholenomore".
I love the name of this one. lol


Ok, now my absolute favorite of this release ... Falstaff ... he is SO CUTE!
(These are all mail art envelopes of course)


Ok, What did you all think??? 
Love right!?!

Ok, well, back to crafty play and cleaning for me. 
Stay safe and crafty!


Monday, March 9, 2020

Hoppy Mail Art Monday

Hello again crafty friends!


It's me Tera again. Today I am going to share a super fun and easy Easter envelope with you!

Stamps Used:


Are you ready for some colorful "Hoppy" mail?

Well, let's hop to it then...

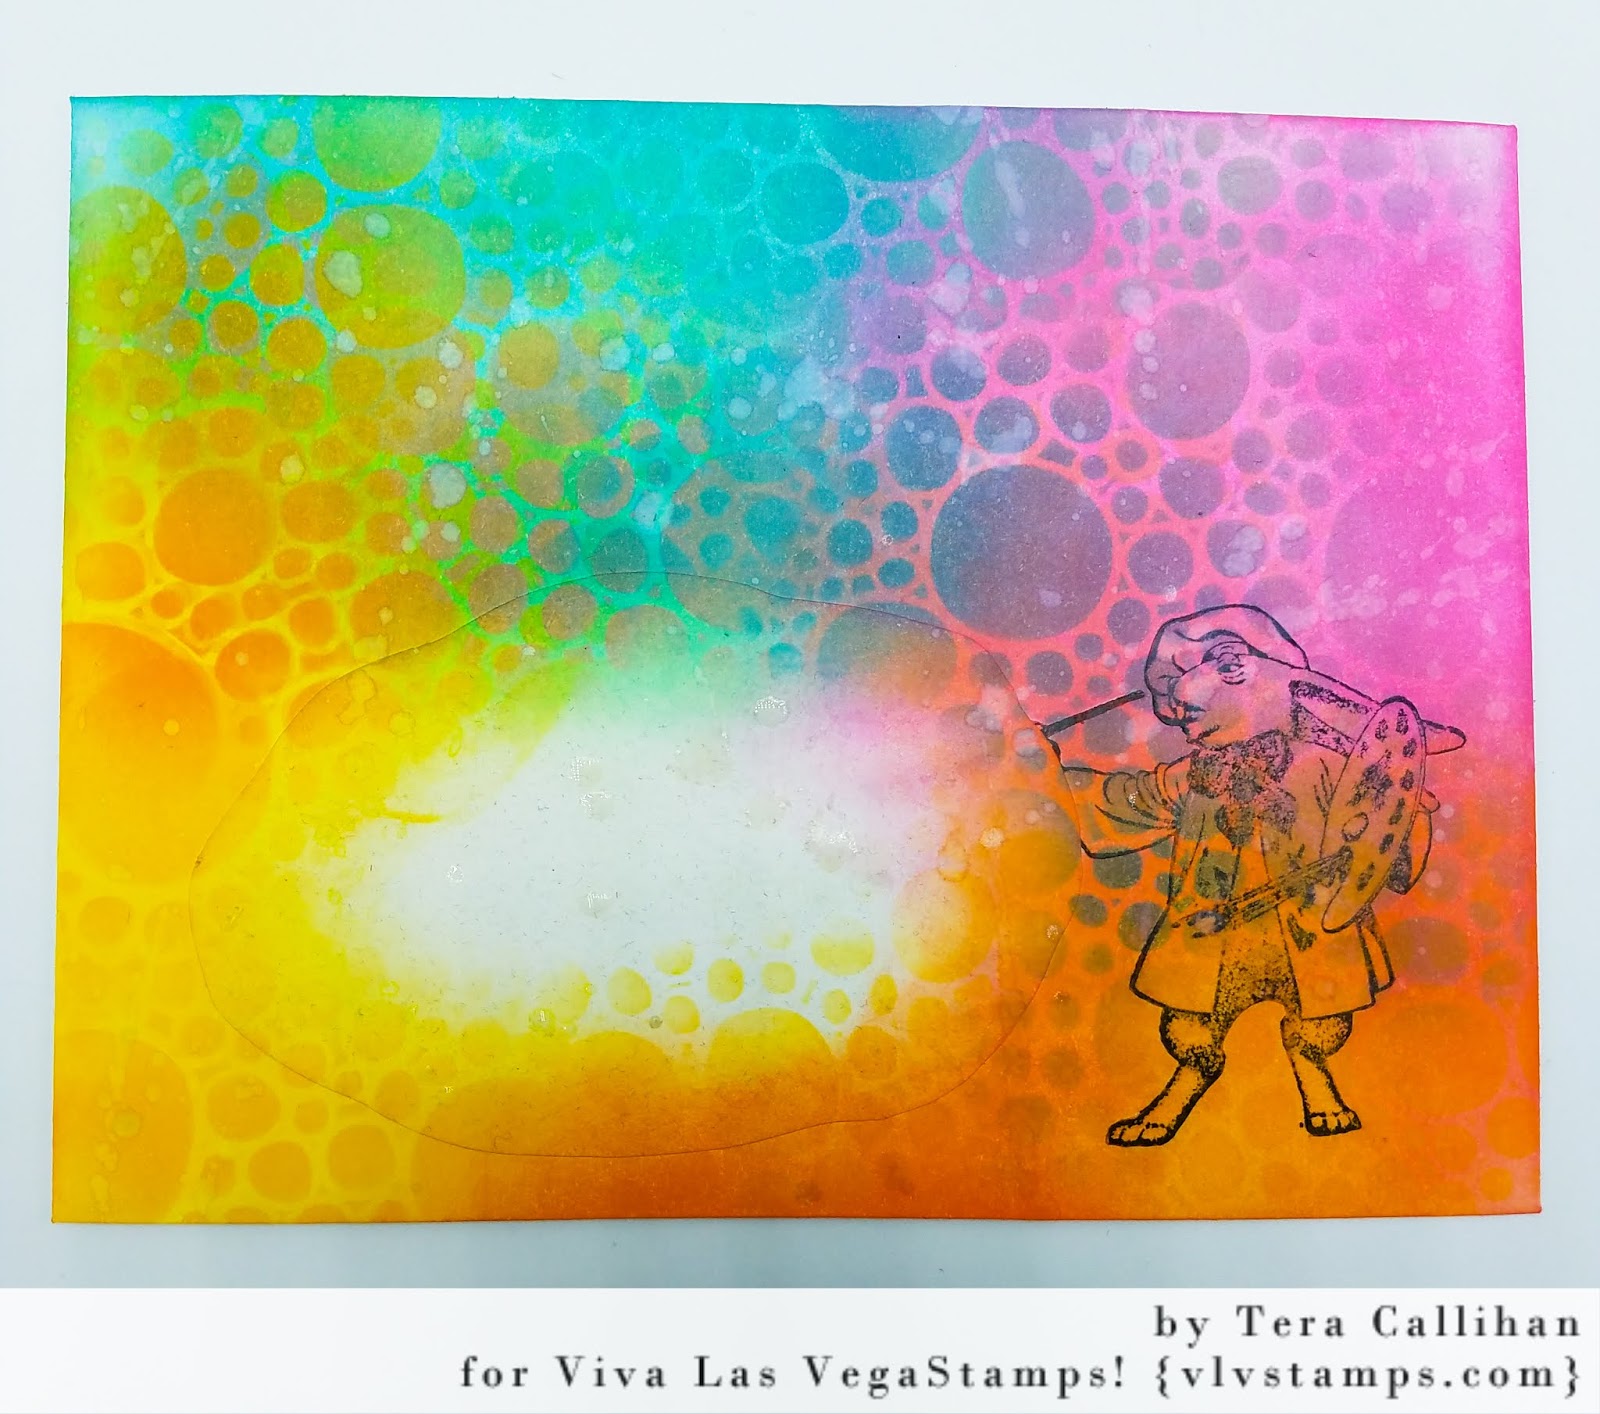
 Beginning with an A2 envelope, I stamped the bunny in black memento ink, then masked him off.  Next I cut a blob shap out of scrap paper to make the mask for the address box. 

(below is the envelope with both masks in place)

Using Distress Oxide inks (picked raspberry, cracked pistachio, mustard seed, and ripe persimmon), I inked my main background layer


Next, using the same colors through a layering stencil I added a new layer of ink for depth.  I also added a few flicks of water for distressing. 


Now for the magic....
I removed the masks to begin coloring.
(I love the reveal!)


Finally I used various markers to color the bunny and add details.
(I love matching postage so I have added one on the envelope so you can see the full effect. I may use a different stamp to mail yet, we will see...)


I hope this artistic bunny has your creative juices flowing too now!
Hoppy crafting!


Monday, November 4, 2019

Designated Riot Area

Hello Again Crafty Friends!


Today, I will be sharing one of my favorite things...
Mail Art!!!


Stamps Used:
Banksy bolt cutter Rat
Banksy designated riot area
Born to be wild
Jagged chain link fence

I started by stamping the rat with bolt cutter on and A2 envelope in archival ink -Jet black.


I masked the rat off, then stamped my chain link fence in archival ink- watering can. 


Next, I used a ruler to draw my grounding line, then stamped my designated riot area stamp. 
(archival- Jet black)


I used distress ink in hickory smoke to shade the fenced area.  I also used hickory smoke distress ink sprays to add some grunge/distressed flicks.  


I used alcohol markers in red to color my base. 
I also added my born to be wild stamp for added detail. 


To finish everything off, I used distress oxide ink in black soot to edge everything. 
I also added a few finishing flicks of dylusions black ink.


I hope you enjoy this bit of Banksy goodness.